

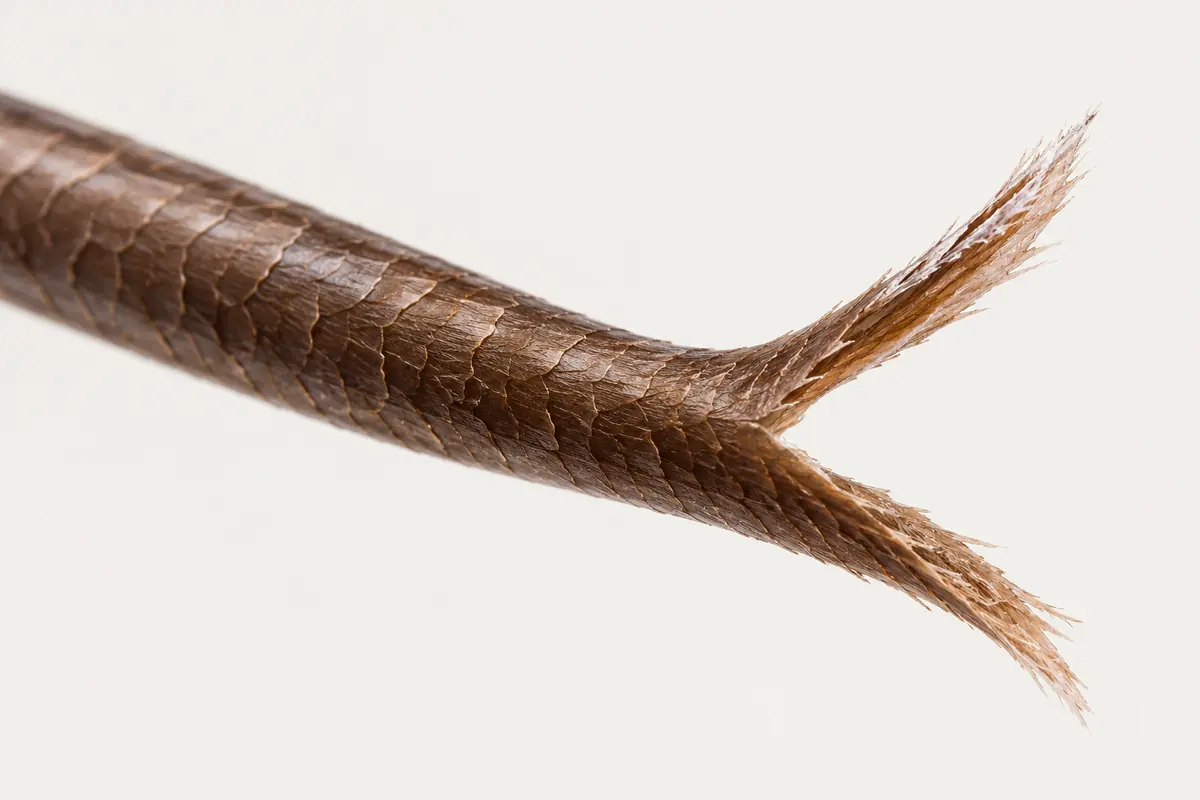
First action: stop pulling the rough ends apart. Put the strand down, note where it catches during ordinary handling, and decide whether you need a trimming conversation or a routine change. If there is pain, inflamed scalp skin, sudden loss or a new thin patch, arrange clinical assessment; that is a different problem from trimming a frayed end.
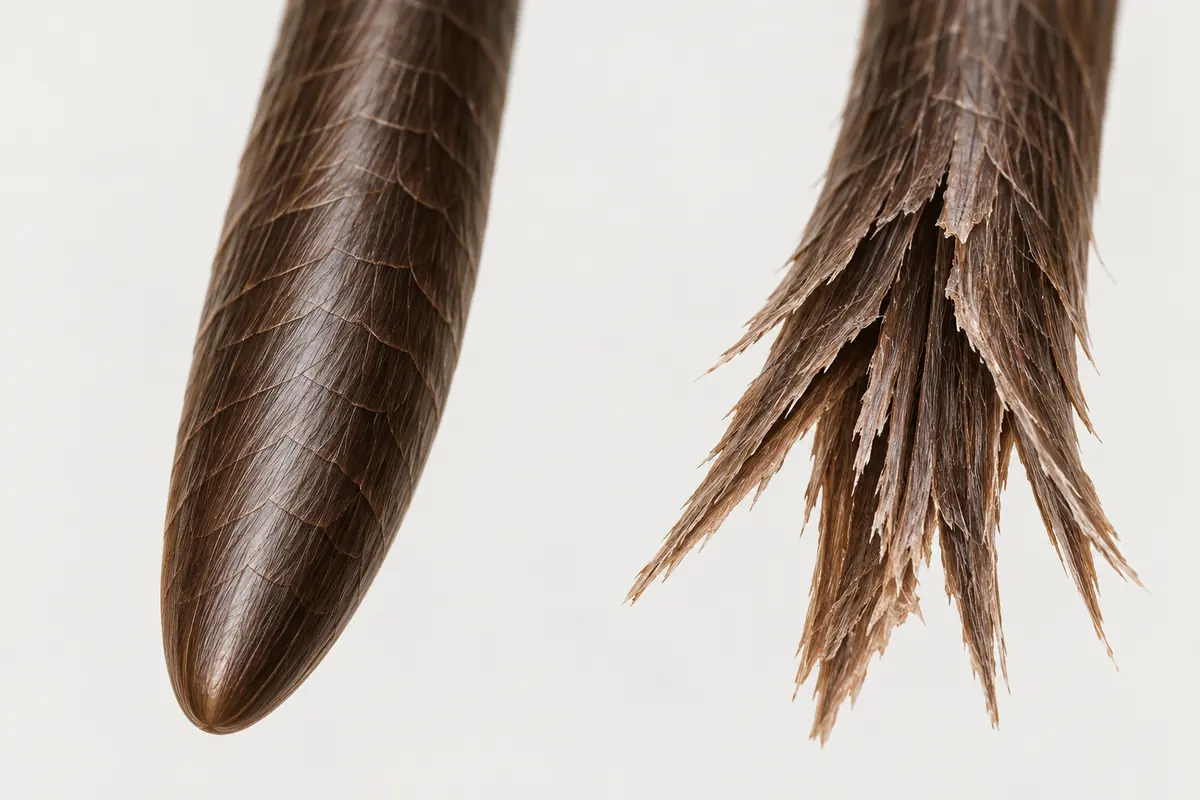
“Repair” can mean a smoother surface, less friction, a temporary cosmetic coating, or removal of damaged length. Those are different outcomes. The visible fiber is not living tissue that heals like skin. A product that makes the end softer has not necessarily removed the split. Cleveland Clinic describes oil as capable of masking a split end's appearance rather than making it disappear. Cleveland Clinic: argan oil.
Find the problem you actually need to change
Do not inspect every strand under a bright lamp for an hour. Look at a few representative sections without stretching or snapping them. Is the roughness mainly at the bottom edge, in previously lightened sections, or near a place that catches under a strap or tie? Is the issue a visibly forked tip, a knot, or merely a fluffy texture?
Visible wear does not identify a single cause. Heat, rough handling and chemical processing are possible contributors to damage; your actual history matters more than a product's diagnosis of “protein deficiency.” AAD: damaging hair-care habits.
Separate the three decisions: what needs removing, what needs gentler handling, and what needs professional assessment. A haircut may answer the first and support the second. It does not answer why density has changed at the scalp.
Use this decision table before buying a treatment
| Situation | Practical question | Next action |
|---|---|---|
| Rough, forked ends concentrated at the bottom edge | Can this edge be removed while keeping an acceptable shape? | Discuss a clear cutting boundary with a stylist |
| Damage visible higher up in layered or processed sections | Would trimming only the perimeter miss most of it? | Ask for a section-by-section explanation before agreeing to cut |
| Lengths feel dry but no split is obvious | Does gentle conditioning reduce catching? | Trial simpler handling; do not assume every dry end is split |
| Hair snags on a particular tie, clip or bag strap | Can that contact be changed? | Replace or reposition the catching item |
| New patch, widening part or scalp soreness | Is this more than a cosmetic fiber issue? | Seek medical assessment |
The table is a planning aid, not an examination. Take uncertainty to the consultation rather than converting it into a label. You can say “this section catches” without claiming to know the microscopic condition of every strand.
Make the trim a specific agreement
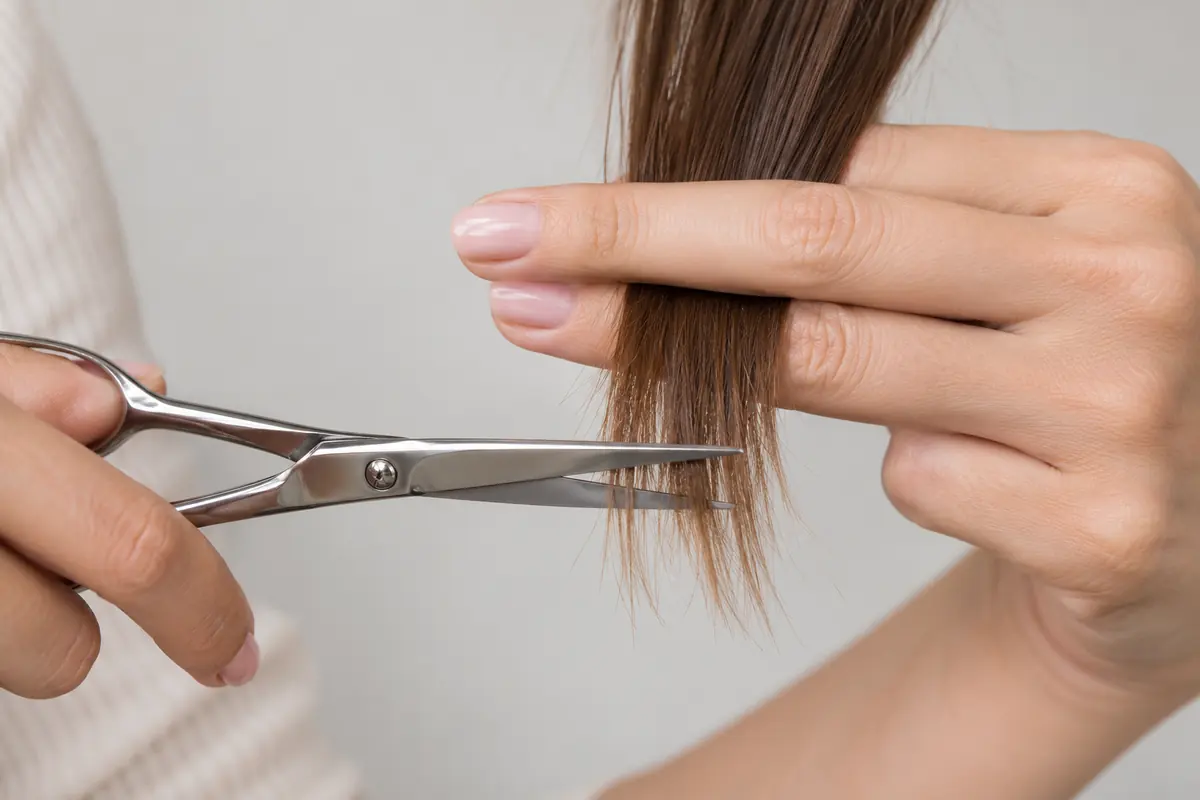
Show the stylist the sections that catch. Ask them to demonstrate where the visible damage starts and where they propose to cut. A “tiny trim” and a “healthy trim” are not precise instructions. Agree a visible reference point and the maximum change you are comfortable with before scissors move.
If damage sits above the perimeter, ask what a small perimeter trim would leave behind. You may choose a gradual transition to preserve a style, but that tradeoff should be explicit. Avoid asking the stylist to promise all damage will disappear while no length changes.
Bring the true service history: highlights, lightener, permanent color, relaxers and home treatments. Include which parts were processed, not just the most recent appointment date. For a detailed conversation, use the hair-color consultation checklist. If the main issue began with lightening, read bleached hair breakage first.
Do not tear off a split to preserve length. Do not run a blade or unfamiliar cutting gadget through the hair because a video promises to remove only damage. If you cannot see exactly what is being cut, it is difficult to make an informed decision about the resulting shape.

A low-friction wash and detangling routine
- Prepare before wetting. Remove accessories gently and divide very tangled hair into manageable sections. Do not try to force a brush through everything in one pass.
- Clean the scalp. Avoid piling lengths into a knot and grinding shampoo through the ends. Rinse thoroughly so you are not repeatedly handling the hair to fix residue afterward.
- Condition where needed. Follow the label; concentrate on ends for fine or straight hair, and adjust coverage through lengths for dry or curly hair. Choose something you can distribute without force.
- Detangle progressively. Support a section above the knot, clear the ends first, then work higher. Curly or coily hair may be easier to detangle with conditioner; straight hair can be handled after some drying. The useful rule is texture-sensitive, gentle handling.
- Blot instead of rubbing. Keep lengths contained without twisting tightly. If heat is needed, reduce exposure rather than making the same area endure repeated passes.
- Finish for comfort. A small tolerated leave-in or cosmetic serum may make handling easier. It is optional and cannot substitute for removing damage when a trim is needed.
Targeted conditioning and ends-first detangling are consistent with AAD healthy-hair guidance. This sequence is an original practical checklist, not a prescribed treatment or a guarantee that a product will prevent every split.
Identify the repeated wear in your day
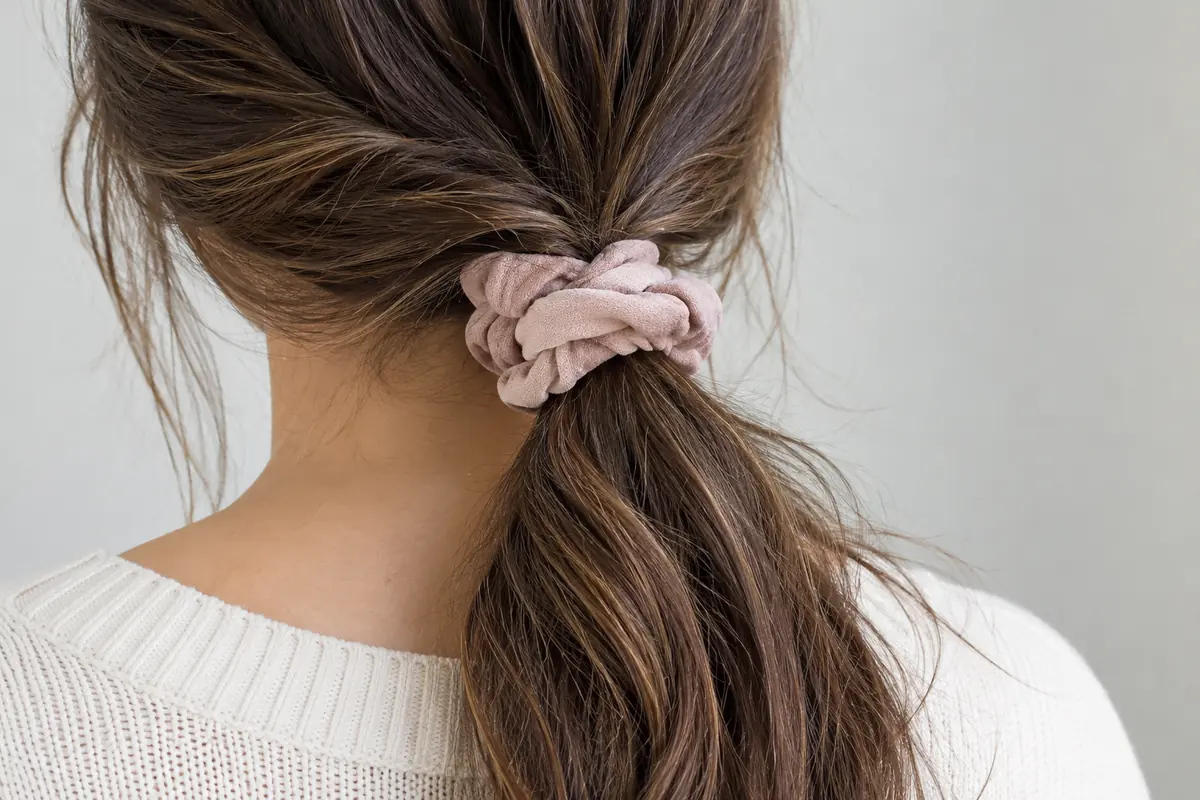
Ask when you apply force. Is it pulling a brush through dry tangles before work? Repeating a straightening pass over the same ends? Catching lengths under a handbag strap? Pulling out the same tight elastic? A change to one repeated action can be easier to maintain than an extra mask every Sunday.
If you wear a scarf or head covering, check the hairstyle and fastening underneath for pulling and catching. Do not assume the fabric itself explains every problem. Choose comfortable attachment and an easy removal method; the aim is less mechanical load, not a promise that one fabric cures damage.
If you swim, keep the after-swim routine simple enough to do. If you exercise, plan an easy style that does not require heat to reset every time. These are scheduling decisions about handling, not claims that a particular activity inevitably ruins hair.
Keep a useful observation log
| Entry | Note in ordinary language |
|---|---|
| Starting concern | Bottom edge catches on comb; processed face-framing sections feel rough |
| Service history | Date, type and location of lightening or other processing |
| Routine change | New removal method for elastic; fewer hot-tool passes |
| Comparable review | Similar wash interval and styling; where snagging remains |
| Consultation decision | Agreed cut boundary and what damage would remain |
Hypothetical example: “I want to retain a shoulder-length shape. The bottom edge and lightened front pieces catch. I will ask the stylist to show both zones, agree the cut before starting, and stop straightening the same front ends repeatedly.” This is a planning example, not evidence of a successful result.
You can review after several comparable styling sessions to see whether handling feels easier. That review period is for judging a routine's practicality, not a medical deadline or a promised rate of fiber recovery. If the remaining length keeps snagging, bring that observation back to the stylist.
What will improve, and what a product cannot prove
After a trim, the removed end is gone. After conditioning, the remaining hair may feel easier to handle. If rubbing or pulling changes, the routine applies less of that particular stress. None of these observations means an old strand has become new, or that hair growth at the scalp has accelerated.
For length goals, distinguish growth from retention. You can grow hair at the scalp while breaking off the ends; measuring the bottom edge alone cannot explain which process changed. If actual density is changing, switch to the breakage versus shedding guide and get the appropriate assessment.
Avoid a fixed trimming rule that ignores your hair history. Agree a review around the state of the ends, your cut and how you handle it. If you repeatedly need to remove the same amount, investigate the repeated stress instead of treating a trim as the whole solution.
Stop the common failed fixes
- Pulling splits apart to “clean them up.”
- Using shine as proof that damage is permanently repaired.
- Adding more heat to hide frayed ends before checking how much heat is already used.
- Buying protein, oil and acid products together based on an online texture test.
- Keeping a catching accessory because it is called gentle or protective.
- Expecting a cut to treat scalp inflammation or loss of density.
Choose the next relevant guide: oily roots with dry ends, hair-type care, talking to your stylist, or the hair-care hub. Copy the practical checklist for your appointment. Mademoizelle is in early access; a future saved style plan can support the discussion, while the useful care plan here works immediately without an app diagnosis.
Frequently asked
Can split ends be permanently repaired without cutting?
A cosmetic product can temporarily improve feel or appearance, but cannot restore a frayed end to undamaged hair. A trim removes the damaged part; gentle handling aims to reduce new damage.
Will oil remove split ends?
Oil or serum may mask how a split looks and reduce an unpleasant dry feel. It does not remove the split. Stop using a product if it irritates your skin and avoid treating shine as proof that damage is gone.
How often should I trim my hair?
There is no useful universal calendar. Agree a review based on snagging, visible damage, your cut and the amount of styling or chemical processing. Frequent trimming without changing damaging handling can repeat the same problem.
Does cutting ends make hair grow faster?
Cutting changes the existing lengths, not the scalp's growth process. Less breakage may help you retain length, but it is not the same claim as accelerating growth.
Are short flyaways always split ends?
No. Texture, a layered cut, new short hairs and breakage can all create shorter visible strands. Do not diagnose them from a photograph. Density changes, sudden loss or scalp symptoms need a different assessment.