

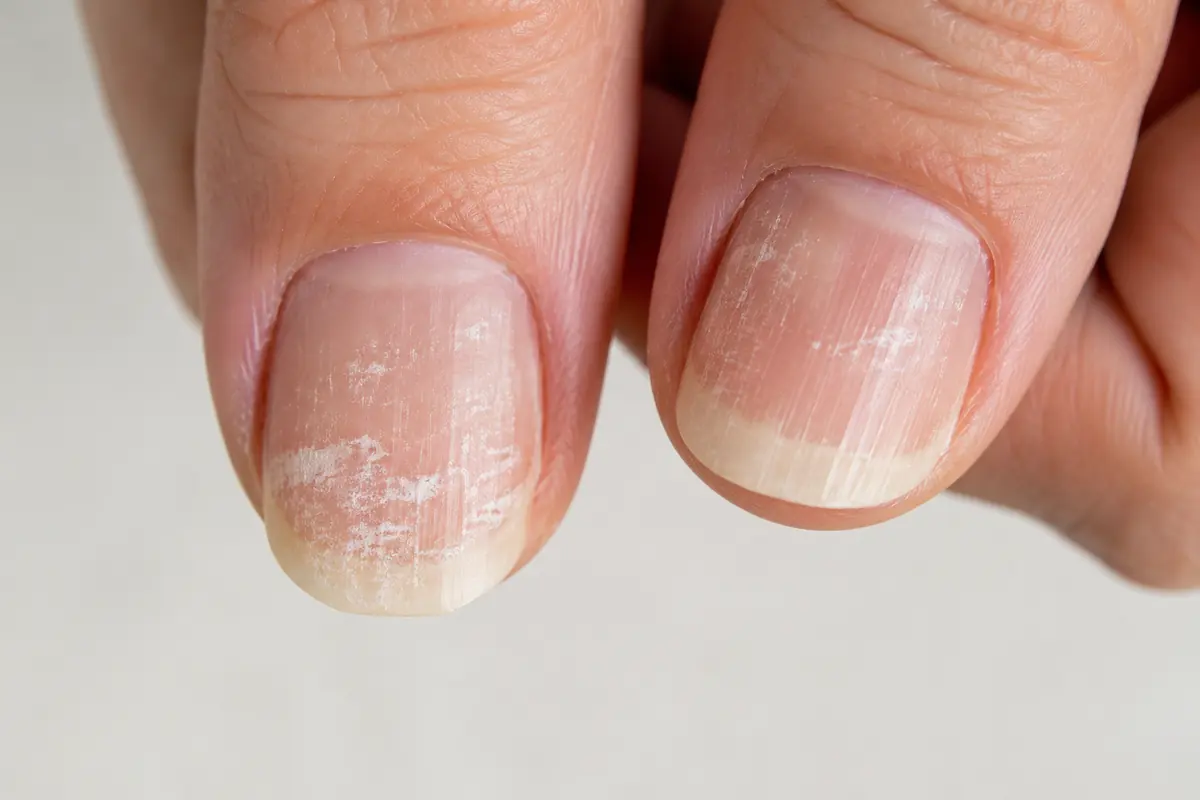
After gel removal, stop peeling residue or buffing the surface and check whether the nail is comfortable and still attached. Roughness without pain needs a gentler care routine. Itching, blisters, swelling, discharge or a nail separating from the finger needs healthcare advice before another manicure.
You may want your hands to look presentable tomorrow. That is a real constraint, but the next decision should protect the natural nail rather than hide every sign under another enhancement. The nail-care hub connects the different patterns; choose the one you can describe without guessing a diagnosis.
Record what happened at removal
Write down whether the coating was soaked off, filed, scraped or peeled. Note whether you pulled away any loose product yourself, whether the natural surface was buffed afterwards and when discomfort began. Add the names of the gel, base, primer and remover if you can obtain them from the salon.
A missing product name is not a reason to keep experimenting. Ask the salon what was applied and what removal method its manufacturer specifies. Gel polish and different enhancement systems are not interchangeable. If product remains on a painful or visibly thinned nail, ask for an appropriate professional plan instead of trying stronger scraping pressure.
Gel manicures can leave nails brittle, peeling or cracked, and the AAD advises against picking off the coating. AAD gel-manicure guidance.
Use comfort and attachment to choose your route
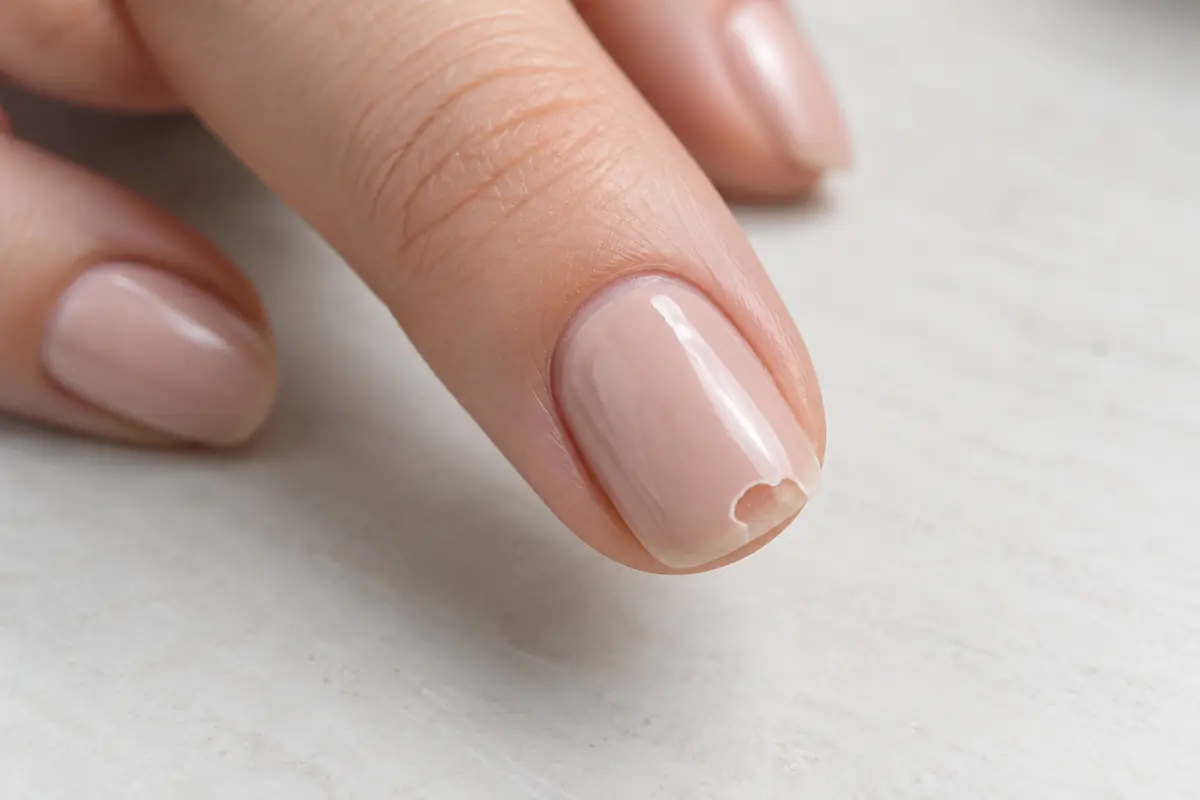
| Observation after removal | First action | What to postpone |
|---|---|---|
| Rough or peeling free edges, otherwise comfortable | Short comfortable shape and gentle protection | More buffing to erase the roughness |
| Tenderness when touched or used normally | Stop mechanical work and arrange advice | An enhancement intended to hide tenderness |
| Itching, blisters or a rash around fingers | Keep product information and seek assessment | Trying another gel brand as a test |
| Natural nail lifting or unusual new colour | Seek healthcare assessment | Filling or covering the detached area |
| Product residue with uncertainty about the system | Ask the original salon for identification and a removal plan | A home drill or improvised solvent mixture |
This table organizes decisions; it does not distinguish allergy from irritation or infection. The gel-lifting guide explains why a lifting coating and a lifting natural nail require separate responses.
The first stage: remove avoidable stress
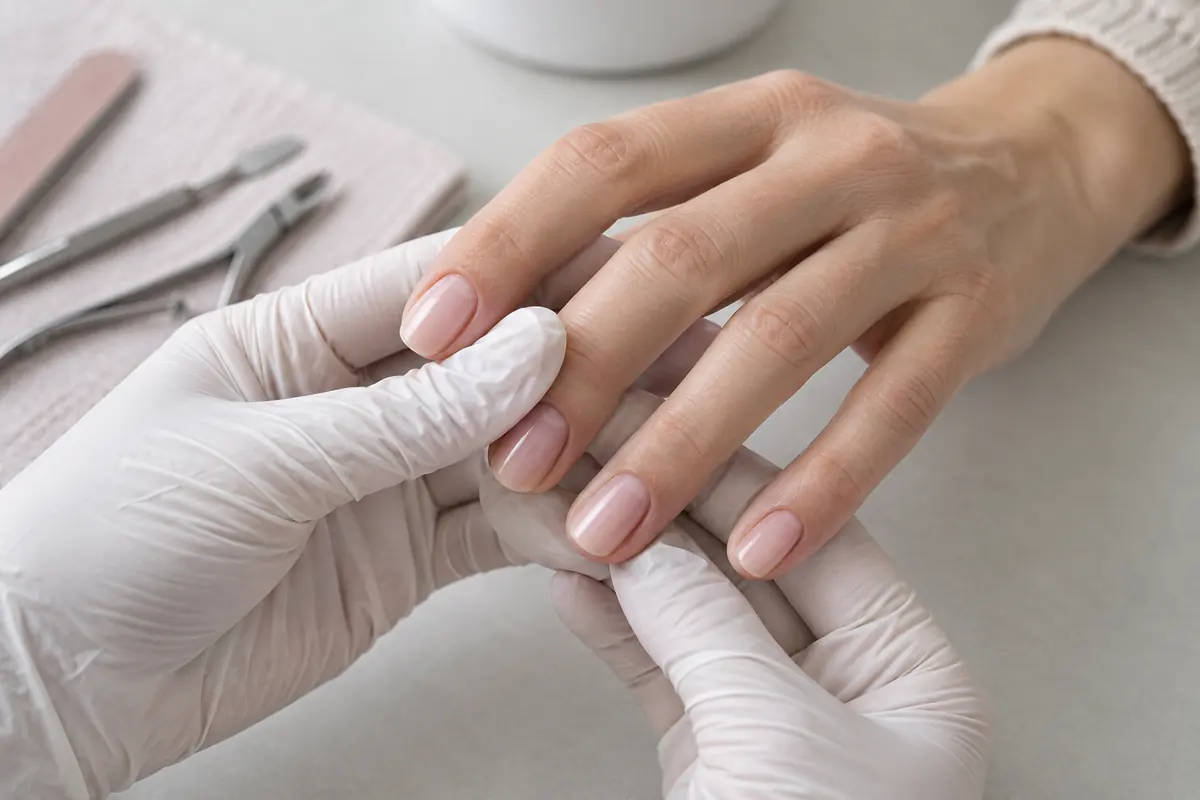
Choose a length that does not catch during normal tasks. Gently smooth a protruding catch at the edge, keeping the attached nail intact. Do not take a file across the whole plate until every patch is flat. A smooth finish obtained by removing more natural nail defeats the aim of this break.
Avoid nail tools for opening packaging, scraping labels or prising out a phone case. Place a substitute tool where you usually do those tasks. If one finger is sore, do not keep pressing it to compare with yesterday. Record discomfort during ordinary activities rather than manufacturing a strength test.
Continue necessary handwashing. Dry hands carefully, apply a tolerated mild moisturizer to fingertips and keep suitable gloves ready for dishes or cleaning. Replace gloves if water gets inside. If surrounding skin is broken or painful, ask a clinician what care is appropriate instead of adding fragranced products or salon chemicals.
Use brittle and peeling nails for the daily routine in more detail. The same protection habits remain useful while you decide whether a future service is appropriate.
The second stage: preserve a simple routine
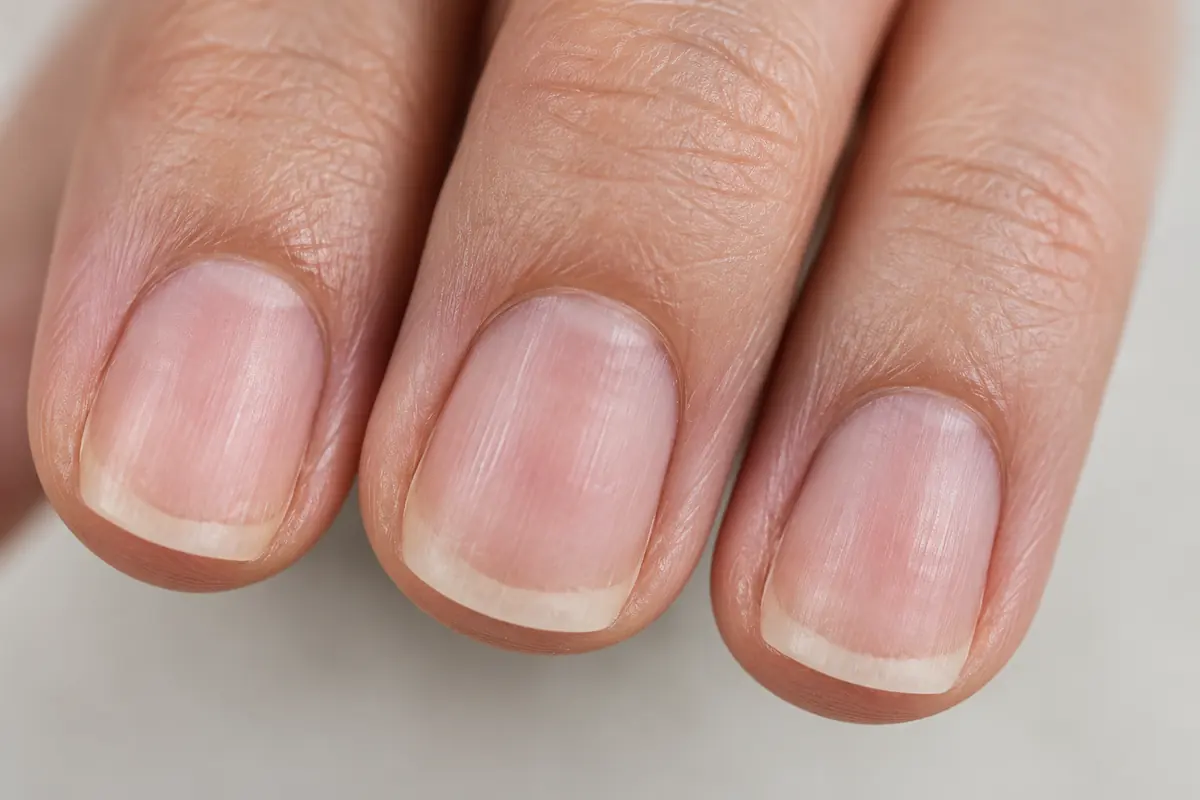
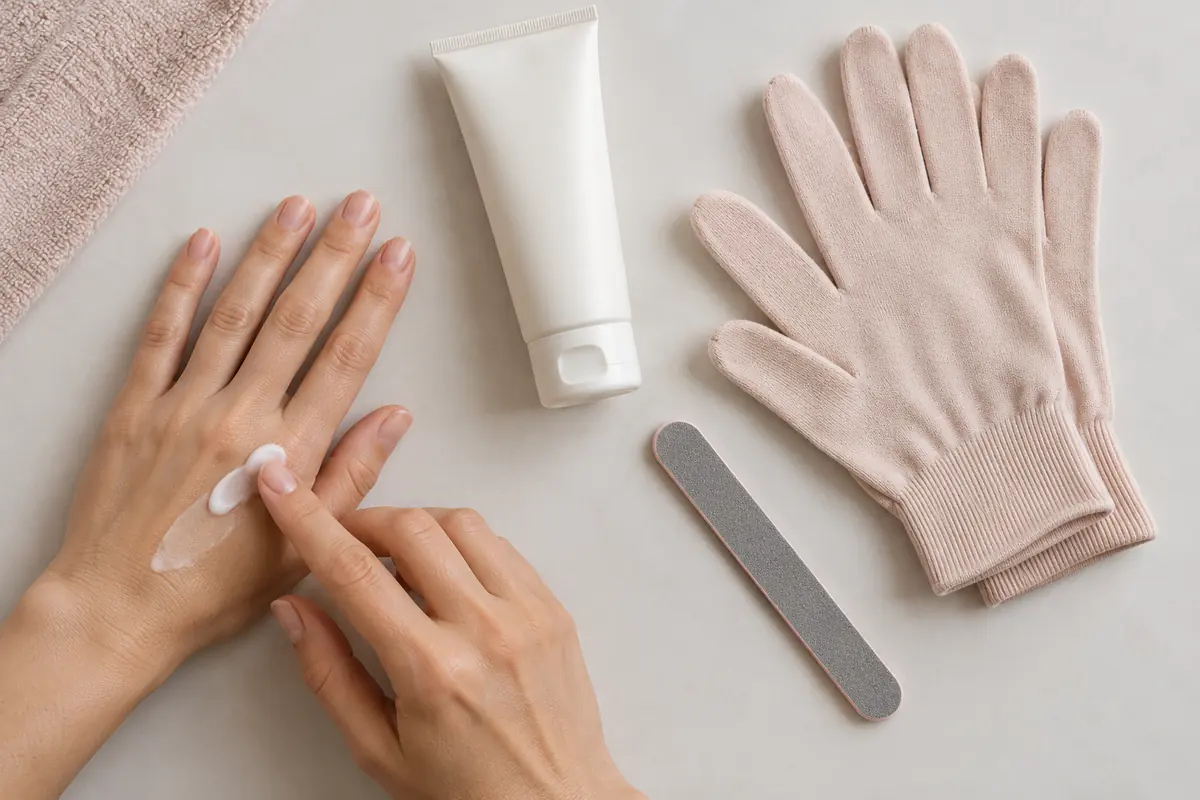
Choose one moisturizer rather than buying a serum, hardener and oil at once. Consistency is easier when you can tell which product you tolerate. Place it beside your hand towel and make application part of drying your hands. Moisturizing and protection do not promise to rebuild a layer that has already been removed.
Keep the appointment break open to reassessment. You can decide to pause another service now without predicting exactly when you will want it again. Consider how much your usual look matters, how uncomfortable removal was, how quickly the next appointment would be needed and whether the technician can offer less handling.
The AAD warns that covering brittle or damaged nails with artificial nails can worsen an existing problem. AAD artificial-nail guidance. A promise that a thicker enhancement “heals everything underneath” should not settle the decision for you.
Know which shortcuts do not solve the problem
Do not peel the last patch because it looks nearly detached. Do not scrape “just a little” to get the surface ready for a photograph. Do not buff until the white-looking patch disappears. These are appearance decisions that may remove more of the natural nail.
Do not copy a universal acetone timer from a video when you do not know the system on your nails. Do not add household cleaners or mix solvents. This guide deliberately provides no aggressive home-removal procedure; the product identity, nail condition and manufacturer’s directions matter.
Do not buy supplements based on a damaged surface. If you are concerned about nutrition or a medical condition, describe your wider history to a clinician. Do not use a hard coating as proof that the nail beneath has recovered. A coating changes the feel and appearance of the finish, not the certainty of the cause.
Itchy fingers are a different problem from a rough edge
Reactions to nail products can appear on fingers and elsewhere, and inadequate curing or contact with uncured product can increase sensitization risk. British Association of Dermatologists warning. Persistent itching or blisters should not be dismissed because the colour looks good.
Avoid a salon “patch test” of another gel on irritated skin or a damaged nail. Ask a healthcare professional whether allergy assessment is needed. Keep the ingredient list, product names and symptom timeline. A manicurist can supply service information, but diagnosis and advice about future exposure belong with qualified healthcare professionals.
Likewise, redness, warmth, swelling or discharge is not a problem to fix by cutting more skin away. Use cuticle care and hangnails to understand the boundary between a loose skin snag and a sore nail fold.
Plan the next appointment with a removal question first
Before choosing another colour, ask: “What is the exact system, what preparation does it require, and how will it be removed from nails that already feel thin?” Also ask whether the technician can work without cutting cuticles or aggressively filing the natural surface. Ask how reusable tools are cleaned between clients.
State your goal plainly: comfortable hands and fewer catches, with a tidy short shape if appropriate. You can bring your timeline and photos of the change without asking for a diagnosis from the technician. The communication method in how to talk to your stylist also works for confirming manicure constraints.
A hypothetical example: rough nails before a wedding
Imagine Noor has gel removed shortly before attending a wedding. Her nails look uneven but do not hurt, itch or lift. She wants them tidy. She chooses a brief shaping consultation and asks for minimal natural-surface handling; she keeps the possibility of another coating open only after the nails are assessed for that service.
If Noor instead develops itching and swollen fingertips, her next step changes to healthcare advice and obtaining product details. The event date does not turn a reaction into a cosmetic problem. This is an illustrative scenario, not a recovery result or a claim that everyone can wear polish safely after gel damage.
Reassess without promising a reset date
Take a baseline photo in daylight if useful. At a weekly check, compare catches, comfort during ordinary tasks and any new changes. Old damaged sections may remain visible while new nail grows. A new white patch has several possible explanations; white spots on nails explains what to record and when to ask for assessment.
- Keep product and removal details.
- Stop picking, scraping and surface buffing.
- Use a short comfortable shape and protect wet work.
- Moisturize with a tolerated product after washing.
- Record symptoms and pause further exposure if a reaction appears.
- Seek review when changes persist, worsen or concern you.
Mademoizelle is in early access. Use the guides for care questions and appointment preparation; an AI illustration or style preview cannot determine nail damage, allergy or infection. The useful outcome here is a clearer next step, not a promised two-week transformation.
Frequently asked
Why are my nails thin after gel removal?
Picking, scraping or excessive filing can remove or damage layers of the natural nail. Gel services may also leave nails brittle or peeling. The timing is useful history, but it does not establish the cause of every nail change.
Should I get builder gel to protect damaged nails?
Do not make another enhancement the automatic answer. Application and removal add handling, and covering damaged nails may worsen problems. Discuss a simple shaping service and seek medical advice for pain, reactions or natural nail separation.
Can I remove the remaining gel with a drill at home?
Do not use a drill or scraping tool to chase residue on a thin or painful natural nail. Different gel systems have different removal requirements. Ask the original salon for the product name and an appropriate professional removal plan.
Is peeling around the fingers just acetone dryness?
It may have several causes. Itching, blisters, persistent rash or swollen fingertips after nail products should be assessed rather than assumed to be harmless dryness. Keep product details and avoid another exposure while arranging advice.
Will my nails recover in two weeks?
A short polish break is not a guarantee that damaged nail has completely grown out. Comfort may improve earlier than appearance. Growth varies and persistent change needs review; avoid any promise of a fixed recovery date.